Create an image wrapper - using browse method
To create an image wrapper using the browse method:
- Click on Add Content at the top left of the window.

- Select UVic Blocks.

- Select Image Wrapper.

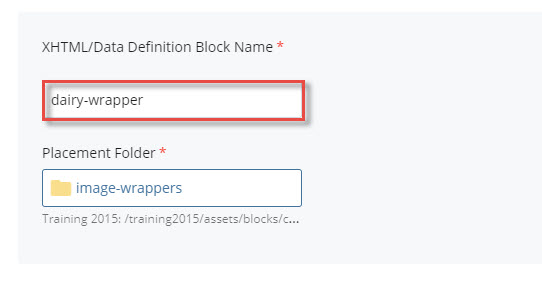
- Enter a System Name for your image wrapper. You will see that the image-wrappers folder is already selected as the designated placement folder.
- Leave the Display Name as is. It is a required field but doesn't actually display. You can also include a description if you wish (not required).

- Under poloroid-banner-image click on Choose File.

- Click on Browse and navigate to find the image in your site's assets folder.

- Once you have located the image, click on the radio button beside it to select.

- Then click on Choose.

- You will see the image has been selected and the path is displayed. Enter an image alt tag (short description of your photo) and include an image caption.

- When you are finished, click on the ellipsis and then click on submit.

- You will see that the image wrapper has been added under assets > blocks > content > image-wrapper.

