University Systems help centre

Recover and restore files from backups: Windows
If you have backed up your files to the Tivoli Storage Manager server using the TSM client, you can restore files and folders from the server to your computer. This is especially useful if you accidentally delete important files or you need to replace your hard drive. Software and computer applications, however, should not be reinstalled from the TSM server.
- Open the Tivoli Storage Manager by clicking on the
Windows
Start button, selecting
Programs,
Tivoli Storage Manager, and then
Backup Archive GUI.

- If prompted, enter your
node name as the
User id and your node's
password. Click
Login.

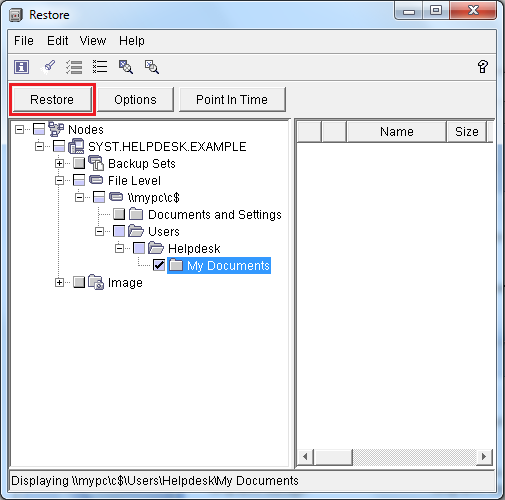
- In the
Tivoli Storage Manager window, click
Restore.

-
Browse and select your files for
restoration. Place a checkmark beside each of the files
and folders you wish to restore. Note that your hard
drive will be located under your node name:
- In the left hand column, click the + next to your node name.
- Click the + next to File Level.
- Click the + next to your computer name. This will usually be \\computername\c$. (For most Windows users, the My Documents folder is located within the Users folder.)
Click Restore to begin the restoration process.
Note: if any of the files you wish to restore are not listed in the backup storage, try opening the View menu and selecting Display active/inactive files.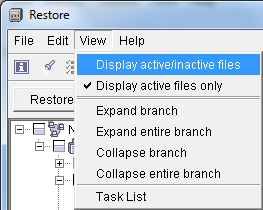
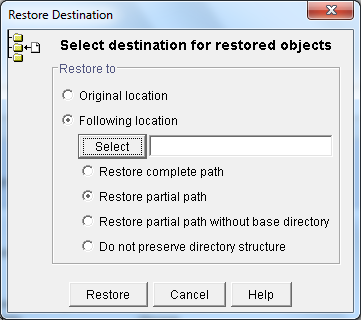
- The
Restore Destination window will be
displayed. We recommend restoring to a different
location than where the files were originally stored,
as this will ensure important files are not
accidentally replaced. Select
Following location to choose a
location. Click
Select to specify the destination
directory.
- The
Select Restore Destination Directory
window will be displayed. Navigate to the folder that
you want the file(s) stored on your local hard drive.
Click
OK.
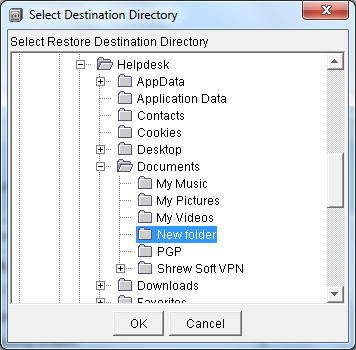
- You will be returned to the Restore Destination window. To restore only individual files into one directory, select Do not preserve directory structure. For the restoration of files and their folders, select Restore partial path. Click Restore.
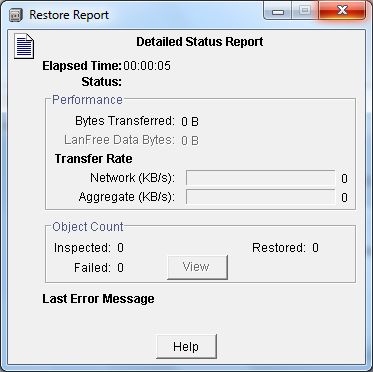
- The restore status will be displayed as restoration proceeds. Click Stop if you wish to abort the restore process. Click Report if you wish to view a detailed status report.
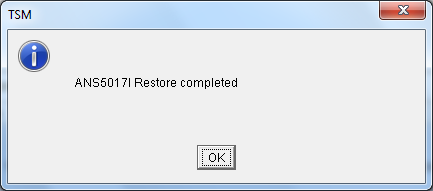
- When restoration is complete click
OK.
-
Close the detailed status report to
return to the main menu.
Open the restored files to verify that they have been restored correctly. If you have any problems, contact the Computer Help Desk.