University Systems help centre

Install Microsoft Defender for Endpoint (MSDE): MacOS
See Microsoft System Requriements for Mac for supported versions of MacOS
These instructions are provided for self-managed, UVic-owned computers and will require administrator access to complete. They are not for computers supported by Desktop Support Services.
Note: If you have any other Antivirus product installed on your computer, it will need to be removed before you can install Microsoft Defender for Endpoint.
*These instructions may become incomplete or inaccurate due to Apple MacOS updates.
1. Download the MSDE installer from here.
2. Double-click the “Install MSDE.pkg” icon to begin the installation.
![]()
3. On the introduction page, click the Continue button.

4. Select your computer hard drive as the install destination and then click the Continue button.

5. Click the Install button to begin the installation.
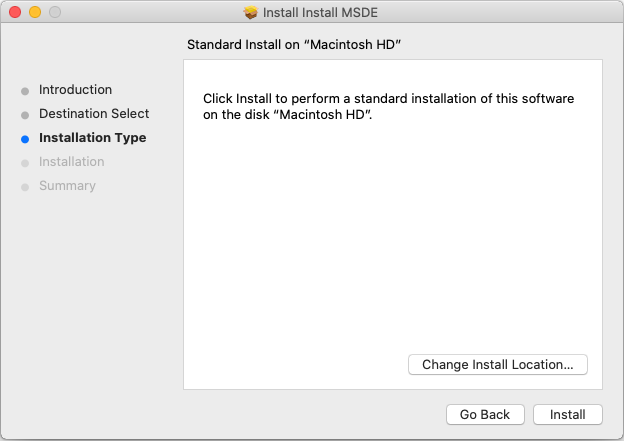
6. Enter the username and password of an administrator account on your computer. Click the Install Software button when done.

7. It will take a few minutes for the software to install.

8. A notification window “System Extension Blocked” may appear during the installation. This system extension is an important component of Microsoft Defender and will need your permission to enable this extension. To enable this extension, first click the “Open Security Preferences” button.

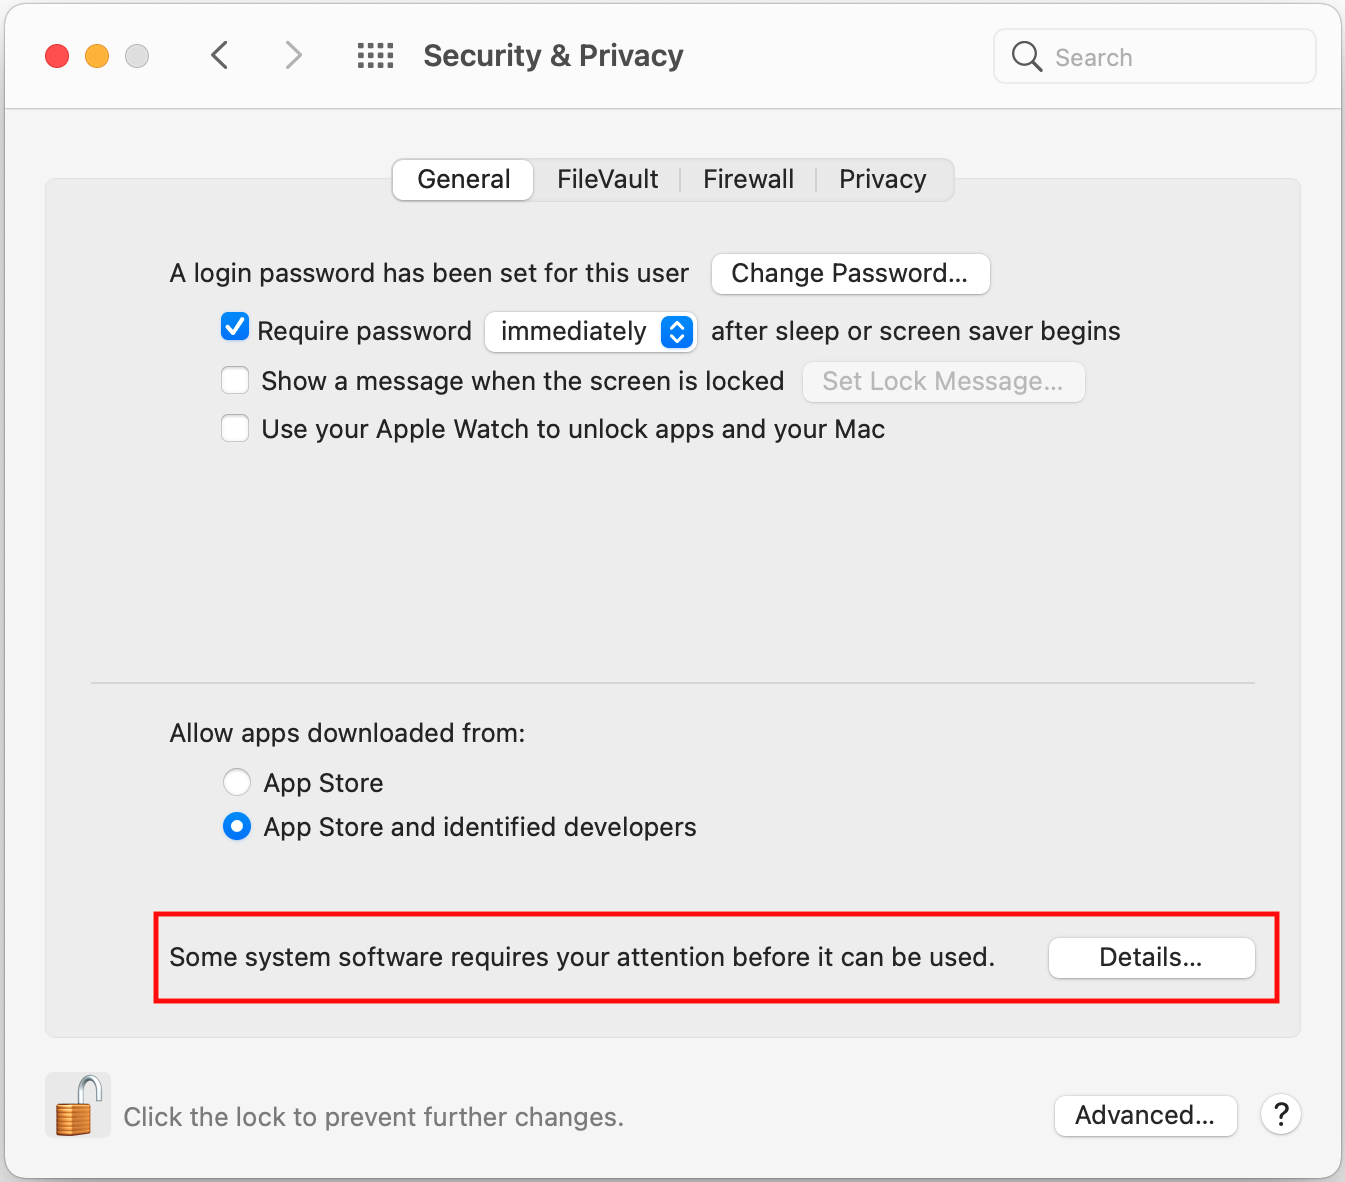
The macOS Security & Privacy preference pane will open. Click the “Details…” button beside the text “Some system software requires your attention before it can be used.”
You may need to click the lock icon on the bottom left corner of the Security & Privacy window and then enter the username and password of an administrator account before you can click the Details button.
Place a check beside “Microsoft Defender ATP.app” then click the OK button.

Close the macOS Security & Privacy preference pane by clicking the red icon (upper left corner).
You will see a prompt that “Microsoft Defender ATP would like to filter network content.” Click the Allow button.

9. Click the Close button when you see “The installation was successful” window.

10. Click the Microsoft Defender ATP icon in the upper right corner of your screen. From the menu that appears, choose “Action recommended". Alternatively, you can open Microsoft Defender ATP from the Applications folder.
![]()
11. When the Microsoft Defender ATP application opens, you will see a white banner at the top of the window with a message “Microsoft Defender ATP needs attention.” Click the blue “Fix” button to continue.

12. The macOS Security & Privacy preference pane will open. You will need to give Microsoft Defender full disk access to your computer. To do this, place a check mark beside “Microsoft Defender ATP”.
You may need to click the lock icon on the bottom left corner of the Security & Privacy window and then enter the username and password of an administrator account before you can allow full disk access.


13.Microsoft Defender for Endpoint is now setup.
* Note: MSDE, Microsoft Defender for Endpoint is the same product as Microsoft Defender ATP