University Systems help centre

Connect your computer to a UVic print queue: MacOS
Before you can connect to a UVic printer, you must be connected to the Internet through the UVic network, either through a wall port or the secure wireless network. If you are connected through the wireless network, you will need to use the VPN client to connect to the UVic network.
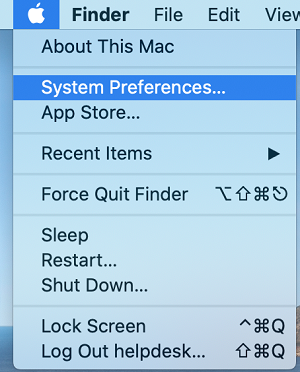
Click on the Apple icon in the top-left corner of your desktop and select System Preferences....
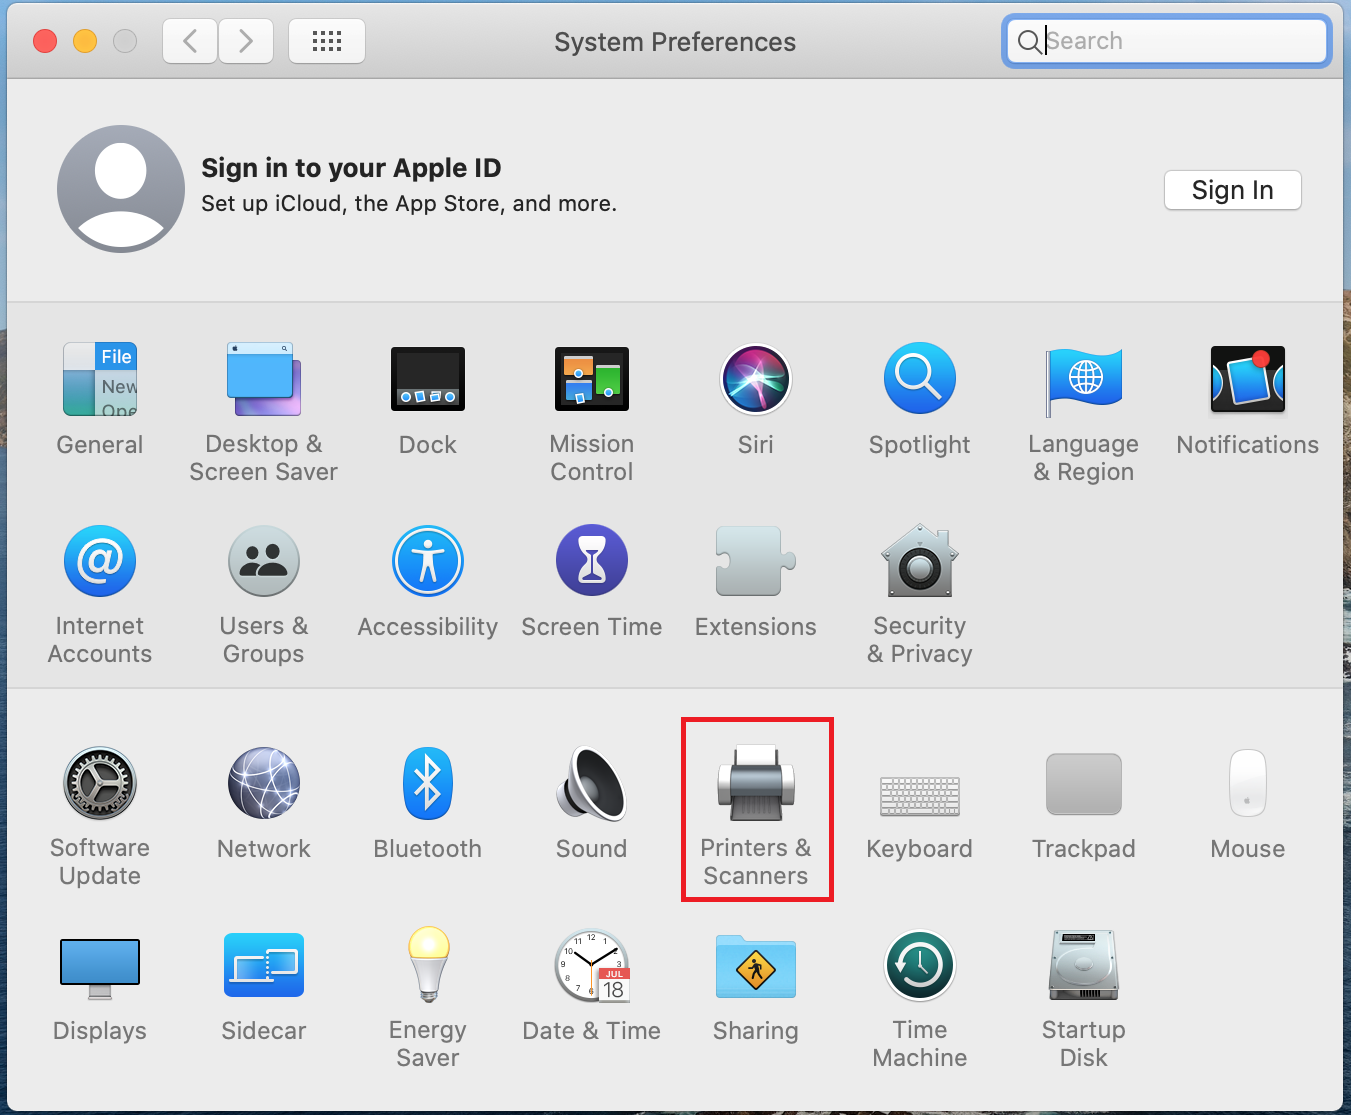
Click on Printers & Scanners.
Click on the + symbol.

Select the IP tab at the top of the window.

- For Address, type the address of the desired printer server, for example print5.uvic.ca.
- If you are unsure of the name of the print server needed, please reach out to your Departmental Support contact or the Computer Helpdesk.
- For Queue, type the name of the UVic domain printer that you want to use. If you do not know the name of the printer, contact your departmental computer support or the Computer Help Desk.
- For Name, type a descriptive name for the printer. When you want to print, this will be the name you choose from the list of printers.
- For Location (an optional field), enter the physical location of the printer.
- For Use, choose Select Printer Software (or Select a driver to use) if you know the model of your printer. If your printer model does not appear on the list, you may need to install the printer’s driver on to your computer. If you are unsure how to install the correct driver, reach out to your technical support contact or the Computer Helpdesk. Alternatively, you can select Generic PostScript Printer.
Click Add. If prompted, enter your personal NetLink ID followed by @uvic.ca as well as your password. Click OK. The printer window will pop up. The printer should now be connected, and will remain connected even if you close the window.
